making the gluten-free, plant-based, whole-foods world a better place, one recipe at a time
Saturday, July 25, 2020
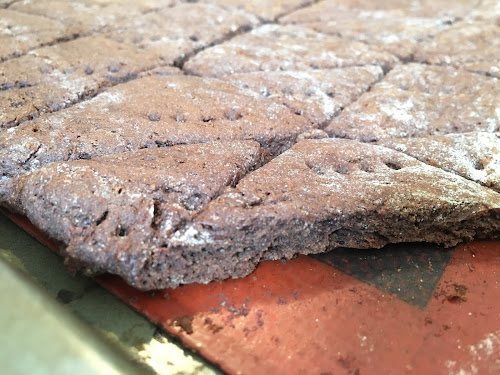
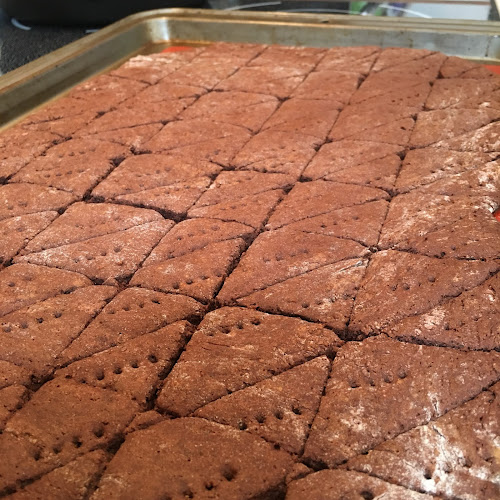
Little Chocolate Biscuits -- gluten free, plant-based simplicity
Saturday, July 11, 2020
home made ketchup -- no sugar
Ketchup -- I mean, what's up with that? Right now, it's my kid's favourite condiment. And he likes a lot of it, not a dainty, tiny amount. In self-defence, I started making my own. It's actually very easy, makes quite a bit, keeps really well in the refrigerator, and offers control over the ingredients.
equipment needed:
high speed blender (not essential, but very helpful) (you can use a hand blender, or other blender, I imagine)
microwave-safe dish (covered glass casserole) or pot on the stove
cutting board and knife
measuring cups and spoons
clean/sterilized jars
ketchup ingredients:
A)
1 onion, diced
1/2 tsp garlic powder
300 ml tomato paste (if you use a 368 ml tin, save 1/4 cup of tomato paste for making our gluten-free and plant-based pepperoni!!) (If you can afford amazing organic tomato paste, I highly recommend it -- I've made this with both generic tins, and fancy bio-italia, and the flavour of the bio-italia is a huge difference for $2 or $3 more)
C)
5 tbsp xylitol (or granulated sweetener of your choice!!) (up to 7 tbsp if you need more sweetness for proper balance depending on your tomato paste)
4 tbsp apple cider vinegar
1tbsp balsamic vinegar
1 1/2 tsp sea salt
1 1 /2 cup water
directions:
1. in a microwave safe dish, cook the onion with 1/2 tsp garlic and 1 tbsp of the water, covered in the microwave until translucent. If you don't want to use the microwave, cook it in a small pan on the stove until translucent in a couple tbsp of water ( or I will often use a covered glass casserole in the microwave, and add 1/2 cup of water to the cut up onion)
2. Once the onion is fully cooked, in the jar of your blender, add all the ingredients, and blend on high speed until completely smooth and even.
3. If you prefer it sweeter, add a little more sweetener. If you prefer it less sweet, start with fewer tbsp of granulated sweetner
4. experiment if you are feeling bold -- use other spices and flavours. Use date sugar as your sweetener! Throw in some smoked paprika! Be creative! Have fun!
5. store in glass jars in the fridge.
6. makes about 4 cups
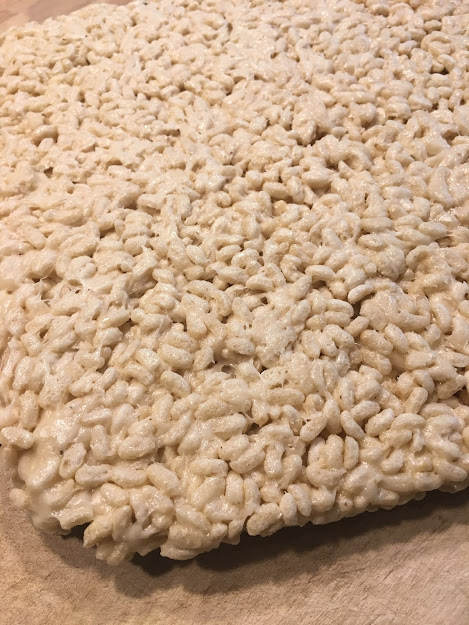
Marshmallow and Crispy Rice treats -- the plant-based version
Sunday, July 5, 2020
Little Oat Wafers -- simple, gluten free, plant-based, dry biscuits
Apple Cake Cookies -- big, soft, gluten-free and plant-based cookies
Friday, July 3, 2020
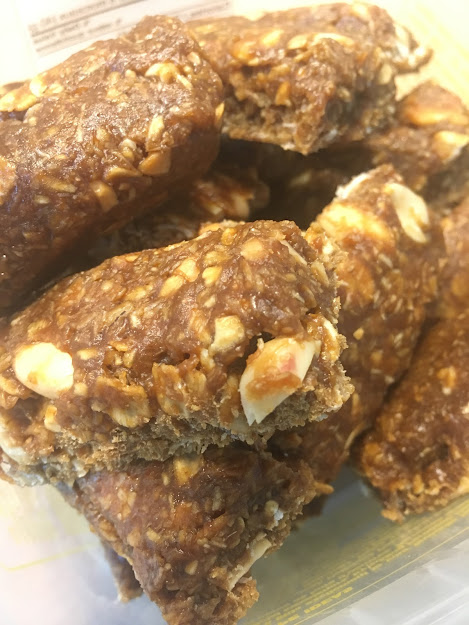
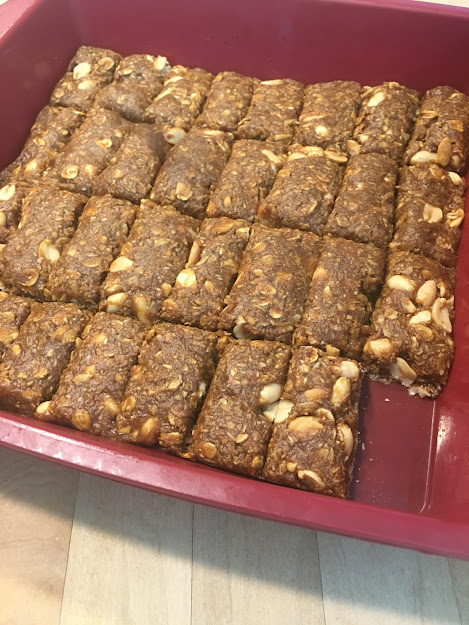
Epic Peanut Butter Granola Bars for renegades and rebel bakers
Sunday, April 26, 2020
Pumpkin and Vegetable Soup -- an amazing Hearty Vegetable Soup in the crockpot
I've got to tell you something about this soup: It's making my kitchen smell freaking amazing. And my kid keeps wandering over and peeking into the crockpot and telling me how good it looks. It's brothy, and chunky, and full of little morsels of delight.
I've got a crockpot -- I've had one for years -- and it's been a fixture in my soup making since the dawn of time. This recipe is specifically design for the crockpot, and I layer in the ingredients in the order listed.
I usually use my crockpot on high for such dishes, and after about 4 hours, the food is pretty perfect. Like with any soup of this nature, however, the flavours also meld over night, and reheated leftovers the next day are aces.
You can also make this soup on the stove top, perhaps sautéing the onions before adding the other ingredients, and then simmering everything until nicely cooked and delicious.
Once the soup is finished, that's when I add the peas because they definitely don't need cooking. If you are serving right away, this can also be a great way to cool it down quickly for kids. Today I'm also going to add some soy noodles -- I've got some made from black soy beans, so the colour contrast will be fun.
For fun, I'll be serving this will raw veggie sticks (cucumber, celery, and carrots), and freshly baked, gluten free bagels.
equipment needed:
crockpot
cutting board
knife
kettle (to heat water for soup -- optional -- this shortens the length of time it takes for the crockpot to reach cooking temperature
measuring spoons
measuring cups
ingredients:
A)
1/2 coconut butter
1 large onion (diced)
4 leaves nappa cabbage (diced)
4 leaves green cabbage (diced)
1 cup celery hearts (diced)
1 cup carrot (diced) (1 large)
1 cup cremini mushrooms (diced)
1 cup sweet potato (asian) (diced)
1/4 cup dried apricots (diced)
B)
1 cup soy curls
1 cup green edamame (no shell)
C)
4 tsp himalayan salt (+ or -)
1 tsp cumin
1 tbsp smoked paprika
1 tsp granulated garlic
D)
1 can pumpkin puree
1 tbsp apple cider vinegar
6 cups water (hot if possible)
E)
2 cups green peas, frozen (allowed to defrost), to be added when the heat is turned off on the crockpot
F)
soy bean noodles, cooked and set aside (add some to each bowl before serving)
directions:
1. in the order listed, turn on your crockpot to high, and layer your ingredients into your crockpot, in the order listed. Pour the hot water over everything once you've done the layering. This will help distribute the spices and seasonings.
2. reserve the green peas and cooked soy bean noodles
3. set the timer for 4 hours
4. after four hours, check and see if it's done. If it's not done, cook for longer. If it's done, turn it off, and add the peas.
5. serve (optional) with cooked soy bean noodles
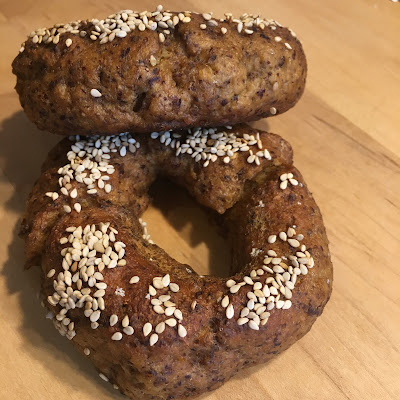
Gluten Free Bagels -- plant based, whole foods, and delcious
I am neither from New York, nor from Montreal, although I have visited both places. I am a Toronto bagel-babe, through and through. In my misspent childhood, I used to go up to a bagel stores on Bathurst street at six on Sunday mornings with my also-an-early-bird father. I have a keen sense memory of the drive home on a cold winter morning, clutching an oversized, heavy-weight-brown-paper bag of hot-out-of-the-oven bagel goodness, inhaling the sweet and perfect aroma. To me, it's not about New York vs Montreal. It's about the bagels of my childhood. I have no idea which bakery we went to, nor do I know why we went all the way up Lawrence and Bathurst way for them. That being said, they were heaven.
Well, these are nothing like them. They are, however, delicious, spongey, puffy, chewy, full of flavour, and hit that spot inside each of us that is reserved specifically for bagels. And for people who need to avoid gluten for the sake of feeling well, they are pretty damn fabulous.
Today, after boiling, we pressed the tops of the bagels into a place of sesame seeds, and hit them with a wee sprinkle of salt for good measure. How bad can they be, really?
equipment needed:
mixing bowl
mixing spoon
measuring cups
measuring spoons
whisk
kettle or other way of heating water to approx 105 degrees
large pot for boiling bagels
baking sheets and silicone mat or parchment
cooling rack
slotted spoon
oven
scale (for portioning dough -- optional)
ingredients:
A)
2 cups warm water
6 tbsp coconut sugar
4 tsp yeast
B)
2 tsp xanthan gum
2 tsp himalayan salt
C)
1 cup quinoa flakes
1 cup oat flour
1/2 cup sorghum flour
1 cup almond flour
1/2 cup cassava flour
D)
2 tbsp baking soda (If you are a boil in malt or honey person, please don't let me stop you. You do you.)
directions:
1. combine the ingredients from A) and set aside. Make sure the water is not too hot. It should feel like a cozy bath temperature. Too hot will kill your yeast
2. combine the ingredients from B) and C) in a large mixing bowl. I like to use a whisk to make sure they are fully and utterly distributed
3. when you have seen your yeast activate, combine the wet and dry ingredients, and mix well.
4. I like to turn this dough out onto a floured mat, and form into a nice ball, add a little extra oat flour if needed.
5. divide into 12 equal portions (i used a scale for this -- 100 g each, but you can eye-ball it no problem)
6. let rise for about 1 or 1 1/2 hours
7. bring a big pot of water to a boil, adding couple of tbsp of baking soda (D)
8. cook the bagels 4 at a time (or however many can fit uncrowded into your pot) for 2 minutes per side
9. remove from the pot with a slotted spoon and allow to drain a little on a cooling rack
10. once cool enough to handle, pick them up carefully and top end them into a plate of sesame seeds (optional)
11. place on a baking sheet lined with parchment (and sprinkle with salt -- optional)
12. bake at 345 for 35 minutes or until they are done
13. remove from the baking sheet, and cool on a cooling rack


