Showing posts with label date sugar. Show all posts

Friday, July 3, 2020

Epic Peanut Butter Granola Bars for renegades and rebel bakers


Anyone who doesn't understand the importance of salt to bring sweetness to life will probably hate everything I make. I hold nothing against you, if salt in a sweet food just isn't your jam. I know that you are out there -- and judging by the desserts I've had at high end restaurants that were bland and simply sweet and flavourless to my palate, I may indeed be the renegade that nobody speaks about in polite company.  

The right salt makes all the difference. That is to say, refined 'table salt' doesn't do your body any good, and doesn't do flavour much good. Himalayan salt, or any other simple earth salt will usually do the trick. I don't get fancy with it. Remember when we all used to be all about the sea salt? Unfortunately, because of the high concentration of minute plastic particulate in the oceans, sea salt has become a bit of a  risky proposition. 

This is my long winded way of saying that these granola bars are absolutely epic, but inadequate salt will be their downfall. In my opinion, any dessert or snack that involves peanut or almond butter will absolutely beg for a little salt. 

I grew up in a house that eschewed salt under the umbrella of health-consciousness. I was once made to feel like a sinner for attempting to sprinkle a couple grains of table salt on a slice of cucumber. However, rest assured, renegade bakers, earth salt will not cause you the problems associated with refined salt. I do urge you to use it as an enhancer, not as a flavour on its own, but I don't think you need to be shy. Other things also bump up flavour -- a shot of acid (in this case, apple cider vinegar) some other layers of mystery and nuance (hello, tonka bean powder, vanilla, cinnamon). But without our old friend NACL, even these tricks will fall flat. 

Toasting the oats, and then the coconut, before combining ingredients will elevate these little bars, and the combination of ingredients give them a bit of a caramel hit. My partner is a pretty big fan, and finds them to be a very satisfying snack when he needs something to keep him going. 

Finally, use the highest quality raw ingredients you can -- these will still be loads more economical than any box of granola bars you can buy.


equipment needed:

whisk
mixing spoon
mixing bowls
scraper
measuring spoons
measuring cups
square silicone pan or glass/metal pan lined with baking parchment
a square of baking parchment (used when pressing the concoction into the pan)
microwave (or use a double boiler on the stove if you prefer)
microwave safe bowl (I use a pyrex measuring cup)
spatula or other dull edge


ingredients:

A)
1/2 cup coconut nectar
1/2 cup natural peanut butter (I used crunchy, the organic one made by Nuts To You because it's awesome)
1 tbsp molasses
1 tsp vanilla extract
1 tbsp apple cider vinegar
20 g cocoa butter (I have cocoa butter pastilles that I can melt to use in baking and confection. Pastilles or chips will be easier to use than large chunks just fyi)


B)
1 1/4 cup oat flakes
1 1/4 cup fine desiccated coconut (unsweetened)
2 tbsp date powder
1/2 tsp himalayan salt
1/2 tsp tonka bean powder

C)
1/2 cup dry roasted, salted peanuts (I buy blanched organic peanuts,  toss them with water and himalayan salt, and then oven roast them on a low temperature, often further dehydrating them overnight on the lowest temperature in the oven)


directions:

1. in a large skillet on the stove, dry toast the oat flakes until lightly browned, and then remove to a large bowl.
2. dry toast the coconut in the skillet until lightly brown. This will happen very quickly so don't take your eyes off it. Add to the large bowl
3. add the date powder and salt, mix well, and set aside.
4. In a microwave safe dish, combine the ingredients from part A, and heat them in the microwave until they can be easily whisked together. Mix really well.
5. pour the part A concoction over the part B melange in the big bowl, and mix well.
6. finally, add the roasted peanuts, and stir them in.
7. press the resulting mixture into your square pan -- I use silicone because it's very easy to work with. If you prefer pyrex or metal, please make sure you remember to like it with baking parchment!!
8. cover the mixture in the pan with a piece of parchment so you can press it down really well. I sometimes also use an extra silicone mat for this step. That works too.
9. once the mixture has been pressed down and looks tidy and flat, you can score bars using a dull edge like a spatula. You don't want to cut through the parchment or cut the silicone mat.
10. allow to fully cool, then chill (i flash chill in the freezer)
11. when chilled, remove from pan and break apart along score lines. Store in an airtight container in the fridge.



Sunday, April 19, 2020

Pain au Chocolat -- the gluten free, whole foods, plant based version

The intersection of bread and chocolate.

I live with two people for whom both bread and chocolate hold special and exalted places in their palates and in their diets. That is to say, neither of them ever gets tired of these goodies. I thought, why not combine the two? Especially right now, everyone is showing off their COVID bread, and here we are, all sad and gluten-free. I figured it was time to kick it up a notch. Enter, the pain au chocolat, or what we could call the best of both worlds.

I decided to take a fairly typical but soft gluten free bread dough, sweeten it a little extra with coconut sugar, roll it out flat, sprinkle it with goodies, cut it into long triangles, and roll them individually.

I wanted these buns to be more like bread than pastry, but next time I may enrich them with coconut milk, coconut butter, or some avocado oil just to see what happens. People who enjoy butter on their bread may enjoy more richness in their bread. Still, they were very well received, and make a satisfying Sunday morning nosh with a cup of tea.


roll your dough out into a nice big rectangle! I roll it out on a jumbo silicone mat, but I also use plenty of flour underneath and on top to keep it from sticking to the mat, and to keep the dough from sticking to the rolling pin


brush the rolled out dough with coconut nectar -- about 1/4 cup. No coconut nectar? No problem. What  do you have in the way of liquid sweeteners? Rice syrup?


sprinkled the dough 'evenly' with your mixture of date sugar, kinako, and salt


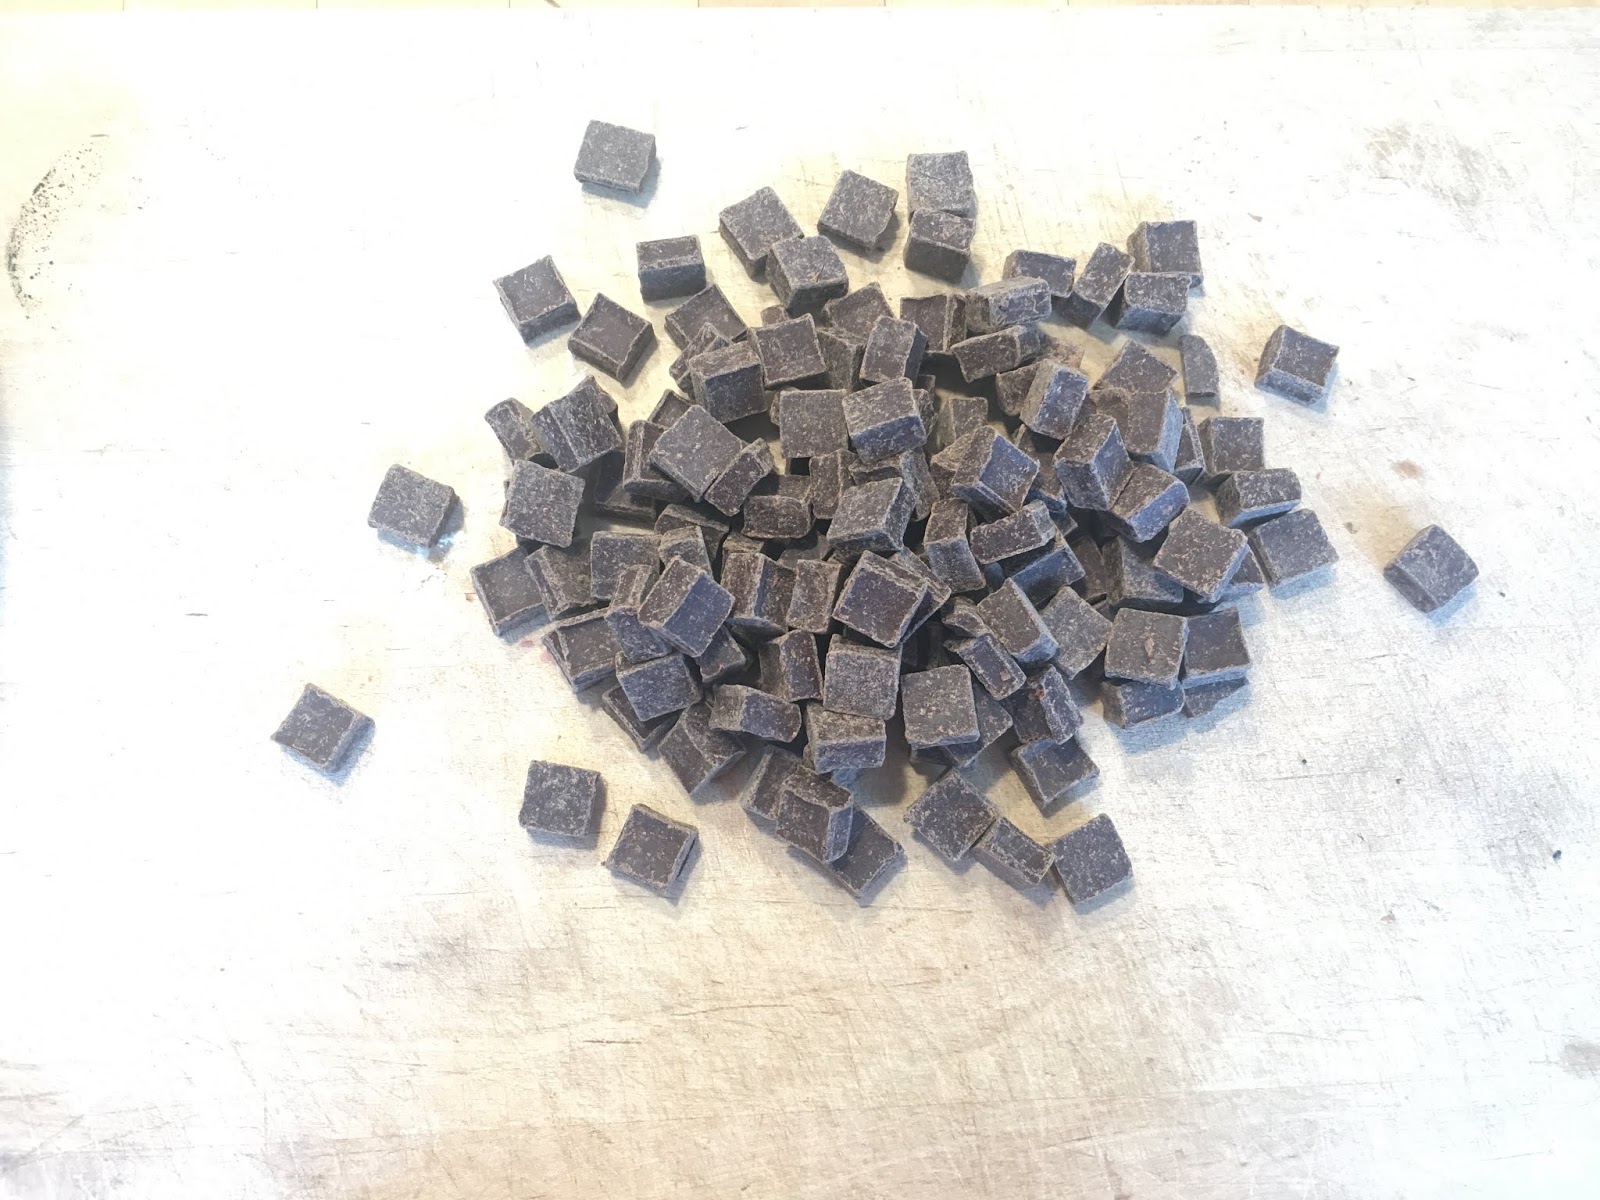
fair trade, organic chocolate. Only have chunks? no problem.


grab a big knife and chop your chunks up!


evenly distribute the chopped up chocolate over the whole surface


cut the dough using something that won't damage the surface you are working on!  Triangles please!!

roll the dough triangles starting at the wide end, and finishing at the narrow end, so the inside part is the widest part

put the rolls with the end face down on your silicone mat-lined tray. No silicone mat? No problem! You can use baking parchment. No parchment? Please use plenty of coconut oil and flour on that pan so your buns don't stick.

let 'em rise

rise for a couple hours, maybe


fresh out of the oven. Can you smell them? So good.


hello I'm a super cute chocolate roll. Won't you be tempted by me?


how about now???

mmmmm ....


full of chocolate goodness


equipment needed:

whisk
mixing spoon
measuring cups
measuring spoons
mixing bowls
kettle or other way to heat up water
oven
baking sheet
baking mat or parchment
dull edged tool for cutting dough into long triangles (like a pastry cutter or a plastic spatula)
large counter surface for rolling out dough
large silicone mat for rolling dough on (optional)
spoon for sprinkling ingredients
brush for brushing coconut nectar
timer
rolling pin


ingredients:

A)
1 1/2 cups warm water (or plant based milk for extra richness)
1/4 cup coconut sugar
1 tbsp yeast
1 tsp vanilla
(1/4 cup coconut butter -- optional)

B)
1 tsp himalayan salt
2 tsp xanthan gum
1/2 tsp tonka bean powder (optional)

(1/2 tsp baking soda, 1/2 tsp cream of tartar)

C)
1/2 cup coconut sugar
1 cup almond flour
1/2 cup chickpea flour
1/4 cup soy milk powder
1/2 cup cassava flour (or tapioca starch if you don't have cassava flour)
1/2 cup sorghum flour
1/2 cup oat flour

D)
1/4 cup coconut nectar (or other liquid sweetener of your choice)

E)
1/4 cup date sugar
1-3 tbsp kinako (roasted soybean powder) (optional)
1/16th - 1/8th tsp salt

F)
1 cup chocolate (I use fair-trade, organic dark chocolate chunks, and chop them into bits with a big knife). You can also use chocolate chips if you like!)


directions:

1) combine A, and set aside to proof
2) in a large bowl, combine B and C. I like to use a whisk (gently) to make sure these dry ingredients are all perfectly combine
3) once the yeast mixture has foamed, pour it into the bowl of dry ingredients, and mix well
4) once out your dough has successfully formed, turn it out onto a well floured surface (I use a large silicone mat on my kitchen counter, but that's not necessary)
5) roll out the dough (with enough flour to keep the rolling pin from sticking!) Try to make a nice big rectangular shape.
6) brush the dough with your coconut nectar
7) combine the ingredients from E and sprinkle all of it on the dough
8) chop your chocolate if necessary, and distribute evenly on the dough
9) cut the dough into long triangles. I got 9 (That was entirely random. If you cut rectangle in half half length wise, you  can make smaller roll ups -- approximately 20)
10) starting at the wide end of each triangle, roll the pieces of dough up (try to roll tightly, but handle them with care), and put them with the end face down on a lined baking sheet (I like silicone mats for lining my trays, but some people prefer parchment)
11) let them rise!
12) be patient
13) bake at 345 for around 40 minutes, depending on how big they are. (for little ones, bake for 30)
14) cool for at least 10 minutes before serving


ready to bake
baked for about 40 minutes


a cute pain au chocolat

imperfection is perfection


Sunday, June 2, 2019

The Lunch Box Cookie -- a plant based, nutrient dense, DELICIOUS fuel source


Kids can be picky, right? Sometimes it can be challenging to provide them with food that they will enjoy while they are at school, that will also fuel them the way you want them to be fuelled. Sometimes mine won't eat because he feels stressed at school, and then he'll be that really adorable combination of stressed, hangry, surly, and explosive. #fml.

These little cookies pack a nutritional punch, and provide excellent energy, and are super dense with all kinds of goodness. Believe it or not, each one of these is about 3 g of protein, in addition to superb fats, and slow carbs. The protein content and slow burning fat are great mood and energy stabilizers. Plus, dark chocolate is actually a mood elevator. 


equipment needed:

kettle
measuring cups
measuring spoons
whisk
mixing spoons
mixing bowls
2 tbsp scoop (optional) 
small bowl or cup of water and fork (to flatten cookies prior to baking)
baking trays line with silicone mats or with parchment paper


ingredients:
A)
1 cup warm water
1/2 cup coconut butter
2 tbsp molasses
1 tbsp apple cider vinegar
1 tsp vanilla extract

B)
1 cup coconut sugar
1/2 cup date sugar

C)
1 tsp xanthan gum
1/2 tsp sea salt

D)
1/4 cup cacao 
1/4 cup white bean flour (or chickpea flour)
1/4 cup pea protein powder
1/4 cup soy milk powder 
1/4 cup tapioca starch


E)
1 cup shredded coconut
1 cup large oatmeal flakes
1 tsp baking soda
1 tsp cream of tartar

F)
1 1/2 cups chocolate chips


directions:

  1. preheat the oven to 345
  2. combine the ingredients in A) in a bowl, and let the coconut butter melt. Add in B), and whisk until everything is combined, melted, and homogenous.
  3. In a separate bowl, combine C) and D), and E) and mix really well.
  4. Combine the contents of the two bowls, adding the dry ingredients to the wet ingredients, not the other way around. Mix well with a spoon. 
  5. finally, when the mixture is combine to perfection, add your mix-ins from F) and stir well
  6. on your lined baking sheets, put 12 x 2 tbsps of cookie dough per baking sheet. Flatten the mounds with a fork dipped in water. These cookies will not spread as they bake. At all. 
  7. Bake for approximately 30 minutes at 345
  8. makes about 36 cookies
  9. store in an airtight container in the fridge


baker’s notes:

-if you don’t feel like chocolate cookies, skip the cacao and add 2-4 tbsp extra oatmeal flakes
-instead of oatmeal flakes, try quinoa flakes for an added protein punch
-instead of chocolate chips, you can try pumpkin seeds, raisins, or sunflower seeds. Dried cranberries? Why not!
-if they aren’t for school, why not try almond butter instead of coconut butter, for fun. 
-These are a nutritionally dense snack that are high in protein, and packed full of micro-nutrients to keep you going for the rest of the day. 

-fat, such as the fat in coconuts, almonds, peanuts, etc is amazing for you, and provides great, high quality fuel