Showing posts with label oat flour. Show all posts

Sunday, April 19, 2020

Pain au Chocolat -- the gluten free, whole foods, plant based version

The intersection of bread and chocolate.

I live with two people for whom both bread and chocolate hold special and exalted places in their palates and in their diets. That is to say, neither of them ever gets tired of these goodies. I thought, why not combine the two? Especially right now, everyone is showing off their COVID bread, and here we are, all sad and gluten-free. I figured it was time to kick it up a notch. Enter, the pain au chocolat, or what we could call the best of both worlds.

I decided to take a fairly typical but soft gluten free bread dough, sweeten it a little extra with coconut sugar, roll it out flat, sprinkle it with goodies, cut it into long triangles, and roll them individually.

I wanted these buns to be more like bread than pastry, but next time I may enrich them with coconut milk, coconut butter, or some avocado oil just to see what happens. People who enjoy butter on their bread may enjoy more richness in their bread. Still, they were very well received, and make a satisfying Sunday morning nosh with a cup of tea.


roll your dough out into a nice big rectangle! I roll it out on a jumbo silicone mat, but I also use plenty of flour underneath and on top to keep it from sticking to the mat, and to keep the dough from sticking to the rolling pin


brush the rolled out dough with coconut nectar -- about 1/4 cup. No coconut nectar? No problem. What  do you have in the way of liquid sweeteners? Rice syrup?


sprinkled the dough 'evenly' with your mixture of date sugar, kinako, and salt


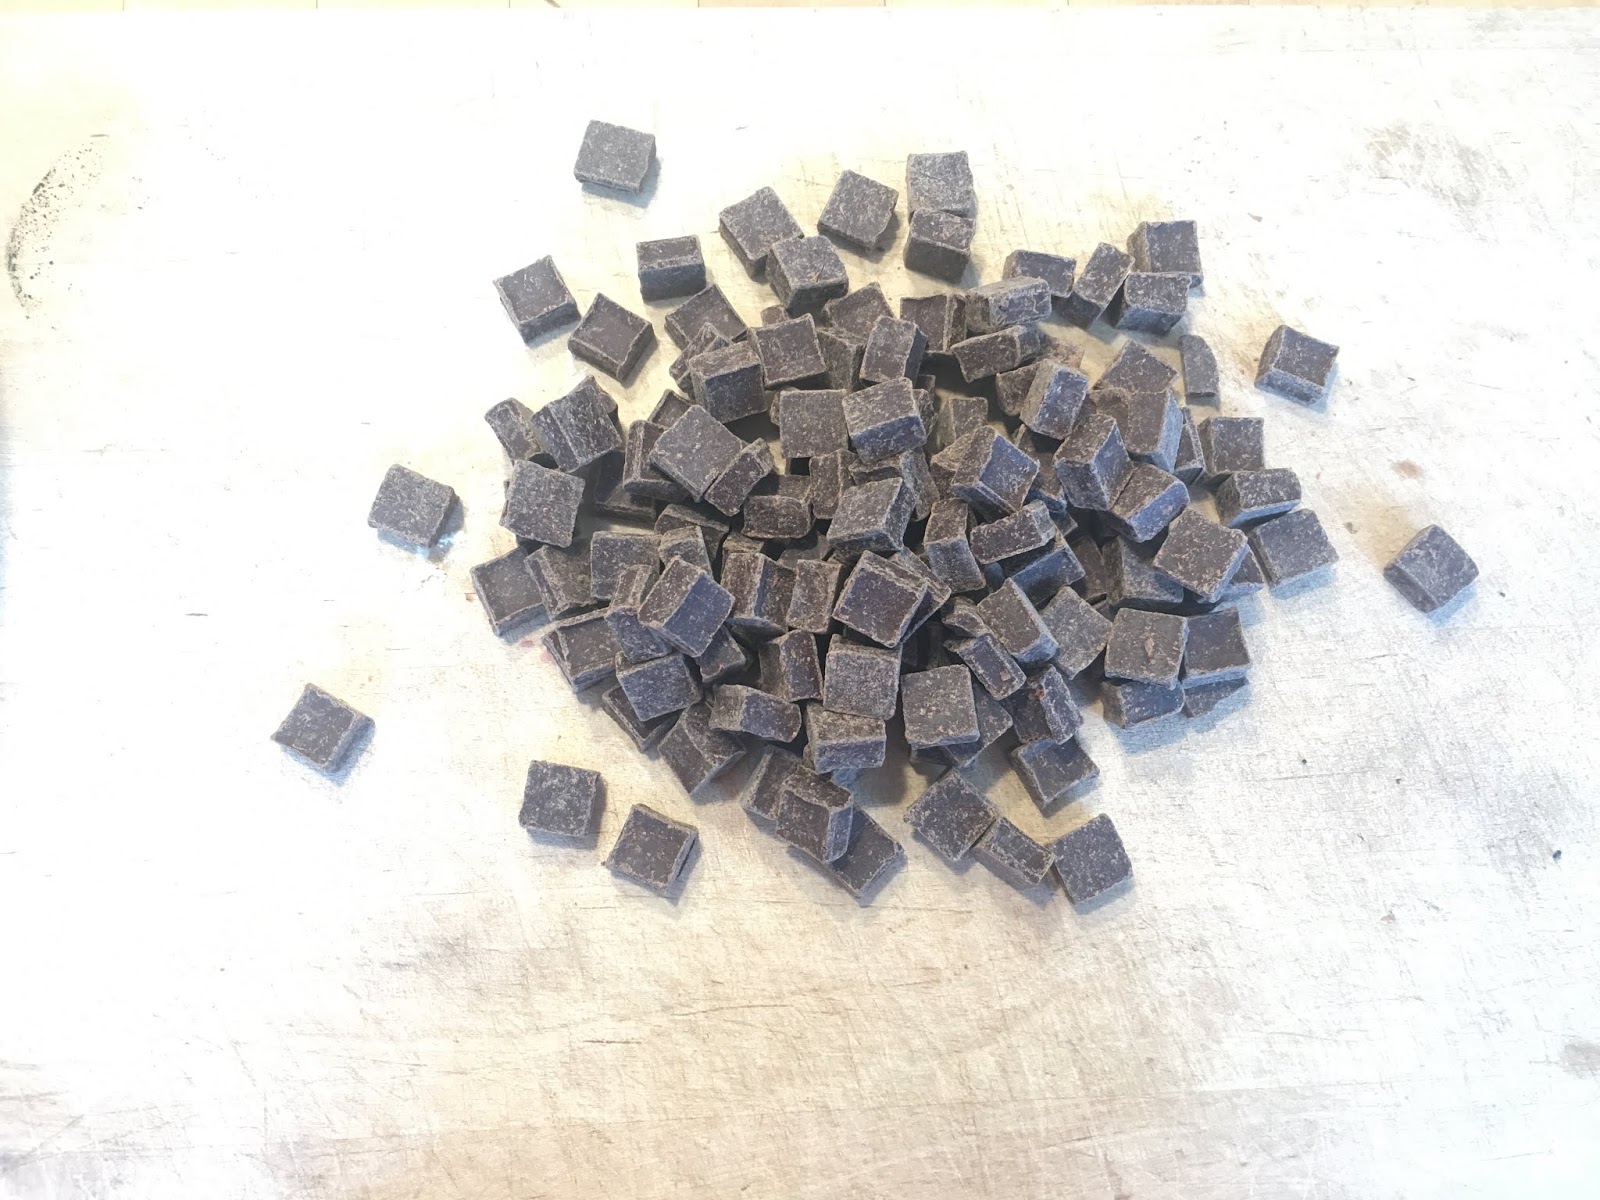
fair trade, organic chocolate. Only have chunks? no problem.


grab a big knife and chop your chunks up!


evenly distribute the chopped up chocolate over the whole surface


cut the dough using something that won't damage the surface you are working on!  Triangles please!!

roll the dough triangles starting at the wide end, and finishing at the narrow end, so the inside part is the widest part

put the rolls with the end face down on your silicone mat-lined tray. No silicone mat? No problem! You can use baking parchment. No parchment? Please use plenty of coconut oil and flour on that pan so your buns don't stick.

let 'em rise

rise for a couple hours, maybe


fresh out of the oven. Can you smell them? So good.


hello I'm a super cute chocolate roll. Won't you be tempted by me?


how about now???

mmmmm ....


full of chocolate goodness


equipment needed:

whisk
mixing spoon
measuring cups
measuring spoons
mixing bowls
kettle or other way to heat up water
oven
baking sheet
baking mat or parchment
dull edged tool for cutting dough into long triangles (like a pastry cutter or a plastic spatula)
large counter surface for rolling out dough
large silicone mat for rolling dough on (optional)
spoon for sprinkling ingredients
brush for brushing coconut nectar
timer
rolling pin


ingredients:

A)
1 1/2 cups warm water (or plant based milk for extra richness)
1/4 cup coconut sugar
1 tbsp yeast
1 tsp vanilla
(1/4 cup coconut butter -- optional)

B)
1 tsp himalayan salt
2 tsp xanthan gum
1/2 tsp tonka bean powder (optional)

(1/2 tsp baking soda, 1/2 tsp cream of tartar)

C)
1/2 cup coconut sugar
1 cup almond flour
1/2 cup chickpea flour
1/4 cup soy milk powder
1/2 cup cassava flour (or tapioca starch if you don't have cassava flour)
1/2 cup sorghum flour
1/2 cup oat flour

D)
1/4 cup coconut nectar (or other liquid sweetener of your choice)

E)
1/4 cup date sugar
1-3 tbsp kinako (roasted soybean powder) (optional)
1/16th - 1/8th tsp salt

F)
1 cup chocolate (I use fair-trade, organic dark chocolate chunks, and chop them into bits with a big knife). You can also use chocolate chips if you like!)


directions:

1) combine A, and set aside to proof
2) in a large bowl, combine B and C. I like to use a whisk (gently) to make sure these dry ingredients are all perfectly combine
3) once the yeast mixture has foamed, pour it into the bowl of dry ingredients, and mix well
4) once out your dough has successfully formed, turn it out onto a well floured surface (I use a large silicone mat on my kitchen counter, but that's not necessary)
5) roll out the dough (with enough flour to keep the rolling pin from sticking!) Try to make a nice big rectangular shape.
6) brush the dough with your coconut nectar
7) combine the ingredients from E and sprinkle all of it on the dough
8) chop your chocolate if necessary, and distribute evenly on the dough
9) cut the dough into long triangles. I got 9 (That was entirely random. If you cut rectangle in half half length wise, you  can make smaller roll ups -- approximately 20)
10) starting at the wide end of each triangle, roll the pieces of dough up (try to roll tightly, but handle them with care), and put them with the end face down on a lined baking sheet (I like silicone mats for lining my trays, but some people prefer parchment)
11) let them rise!
12) be patient
13) bake at 345 for around 40 minutes, depending on how big they are. (for little ones, bake for 30)
14) cool for at least 10 minutes before serving


ready to bake
baked for about 40 minutes


a cute pain au chocolat

imperfection is perfection


Thursday, April 16, 2020

Double Chocolate soft cookies -- whole foods, plant based, gluten free deliciousness

For when oatmeal chocolate chip is not going to ring that bell, these double chocolate pieces of fabulousness may be just what you need.

These big, soft, puffy cookies are halfway between cake and cookie -- and they are chocolatey enough for even the most thorough-going of chocolate lovers. The best part is how good they are for you. All the decadence and satisfaction you could want, all while fuelling you well.

Cacao is a dark flavour, and my rule of thumb tends to be you need an addition of sweetener on a 1:1 ratio with however much cacao you put into something. Hence, since there is 3/4 cup cacao in these, there's an additional 3/4 cup date sugar on top of the coconut sugar in them. However, you are welcome to reduce that to whatever suits your own palate.

Finally, when it comes to grain flours, they are not all equal. However, these 'cakies' are super forgiving, and you can certainly sub in your favourite gluten free flours instead of millet. I love sorghum (super high in protein! tastes nice! delicate texture!) and oat flour, some people like brown rice flour or whatever. You do you. You may have to play around a little with quantities to make it work out perfectly, but what's a 1/4 cup rolled oats more or less between friends?


equipment needed:

measuring cups
measuring spoons
mixing bowls
whisk
4 tablespoon scoop (optional) or soup spoon
fork and cup of water
baking sheets and silicone mats (or parchment)
oven
timer


ingredients:

a)
2 cups water
1/4 cup avocado oil (or 1/4 cup melted coconut oil)
1 tbsp molasses
1 tsp vanilla extract
1 tbsp apple cider vinegar

b)
1 cup coconut sugar
3/4 cup date sugar

c)
1 cup almond flour (or sunflower seed flower for a nut-free version)
1/2 cup tapioca powder
1/4 cup millet flour
3/4 cup cacao powder

d)
1/2 cup chickpea flour
1/4 cup soy milk powder

e)
1/2 tsp salt (earth salt, why not)
1 tsp xanthan gum
1/2 tsp tonka bean powder (optional!)
1 tsp baking soda
1 tsp cream of tartar

f)
1 cup oat flakes

g)
1 or 2 cups of chocolate chunks


directions:

preheat oven to 345

1. In a medium sized bowl, combine the ingredients from a) and b), and whisk well
2. In a large bowl, combine the ingredients from c), d), e) and f), and whisk or stir until fully mixed
3. add the wet ingredients to the dry ingredients, and stir very very well, until completely incorporated
4. add in g)
5. using a 4 tbsp scoop, deposit equal lumps of the cookie dough onto the lined cookie sheets, aiming for about 12 per cookie sheet, until all the cookie dough is used up (I squeeze them all onto 2 baking sheets -- they won't spread at all)
6. using a fork dipped in water, (slightly) flatten and shape the cookie dough
7. bake at 345 for 25-30 minutes
8. allow to cool on the baking sheets, and then remove with a metal spatula

Wednesday, May 15, 2019

Vanilla Custard Tarts -- little Pi Day treats from my gluten-free, plant-based kitchen

Pi Day is a distant memory at this point, but the delicious tarts we came up with on the fly at the last minute still haunt my mind like a friendly ghost. At 12:30 my kid said: "What about pie? Are we having pie? I said: "Oh. You want pie?" The answer of course was yes, and when I asked what kind, the answer was 'custard pie'. Not that we've ever had custard pie, but a small detail like that has never stopped my kid before. I suggested in lieu of big pie, we try tarts, and an agreement was achieved. We thought it would be fun to eat our pie on pi day at exactly 1:59 in the afternoon, so that left us almost 90 minutes to conceive a recipe, gather our ingredients, create our concoction, and have it ready in time for the fateful, nerdiest minute of pie day. (Since of course I was not going to participate in pie or pi at 1:59 in the morning). The good news is this prepped up in very little time, and because these little tarts are quite petite, there was enough time for them to cool down and fully set as well.

Bonus points for being amazingly delicious!!


vanilla custard tarts — vegan, gluten free


equipment needed:

-grinder (I used it to grind oat flakes into a very fine flour because I didn't have oat flour)
-6 silicone muffin cups and a baking sheet (if you have small tart pans, you can use those instead)
-measuring spoons
-measuring cups
-mixing bowl
-fork
-stove
-small pot
-whisk


ingredients:
crust:

A)
1/4 cup almond flour
6 tbsp oat flour
1/8 tsp sea salt

B)
1 1/4 tbsp coconut oil

C
1 1/2 tsp agave (or other liquid sweetener of your choice)


filling:

D)
1 cup water + 2 tbsp
1 tsp vanilla extract
5tbsp agave or other liquid sweetener of your choice

E)
4 tbsp soy milk powder
2 tbsp corn starch
1/2 tsp agar agar powder
pinch of turmeric (optional just for appealing colour)
1/4 + tsp sea salt


directions:

crust:

preheat the oven to 345

  1. Combine the ingredients from A) until well mixed
  2. add B) and mix well with a fork
  3. add C) and mix in well with a fork
  4. divide the resulting mixture between 8 or 9  silicone muffin cups, and press down to form crusts (I kept the mixutre in the bottom only, and didn’t take it up the sides)
  5. bake for 7 to 10 minutes


filling:


  1. in a small pot, combine D)
  2. combine  E) in a small bowl, then add to D), and whisk together before heating
  3. heat, whisking all the while
  4. stir on a low gentle simmering boil until fully thickened and glossy
  5. when tart crusts are out of the oven, divide the filling equally among all of them
  6. allow to cool fully before removing from the silicone moulds and eating.
  7. left overs can be stored in the silicone moulds in an airtight container in the fridge