Showing posts with label chocolate. Show all posts

Thursday, February 17, 2022

Oatmeal Chocolate Chunk Muffins in a hurry


 I don't often use pre-packaged gluten-free flour, but I sometimes have a little bit of fun with this one:

https://www.cuisinelangelique.com/en/products/flour-all-purpose-gluten-free


I like the texture of the baked good it generates, and when I am in a big hurry, it can be nice to just scoop a couple cups of this. Otherwise, to make 2 cups, I will probably do 2/3 cups sorghum flour, 1/3 cup millet or brown rice flour, 1/3 cup chickpea flour (or extra 1/3 cup oat flour if you want to avoid chickpea here), 1/3 cup oat flour, and 1/6 cups potato starch and 1/6 cup tapioca starch.  A good rule of thumb for swapping out flours when following recipes is to try to swap out flours of similar texture. For example, if a recipe calls for oat flour, you can swap in sorghum instead. If a recipe calls for rice, you can swap in millet, or even buckwheat. 


Anyway, I went with this golden bag of flour, bolstering it with a little almond flour and a little chickpea flour, and the result was great. Delicate crumb, nice loft, gently sweet, very satisfying little muffins. 


equipment needed:

measuring cups

measuring spoons

2 mixing bowls

whisk

mixing spoon

baking trays and silicone muffin cups

or 

muffin trays and silicone or paper muffin cups

4 tbsp muffin scoop (or soup spoon)

silicone scraper

oven 

oven mitts

cooling racks


ingredients:

a)

2 cups water

1/4 cup avocado oil

1 tbsp apple cider vinegar

1 tbsp molasses

1 tsp vanilla extract


b)

1 cup coconut sugar


c)

1/2 tsp xanthan gum

1/2 tsp tonka bean powder

1/2 tsp vanilla bean powder

1/2 tsp himalayan salt

1 tsp ceylon cinnamon

1 tsp cream of tartar 

1 tsp baking soda


d)

1/3 cup almond flour

1/3 cup chickpea flour

2 cups cuisine l'angélique gluten free flour blend

1 cup large flake rolled oats


e)

1 1/2 cups fair trade chocolate chunks


f) 

coconut sugar to sprinkle on top

chocolate chunks to put on top


directions:

1. preheat oven to 375, prepare trays (grease your muffin trays if you are not using silicone muffin cups)

2. in one mixing bowl, combine all ingredients from part a)

3. in the second mixing bowl, combine all the ingredient from parts b), c), d), and use a whisk to ensure everything is homogeneously distributed

4. add the wet ingredients to the dry ingredients, and mix with the whisk

5. when fully mixed, and thickened up a little, add e) and mix with a spoon

6. scoop 1/4 cup into each muffin cups (should make 24) -- and put 12 on each tray with space between them.

7. sprinkle a little coconut sugar on top of each one, then top that with a couple of chocolate chunks

8. bake at 375 for 30 minutes, or until they feel firm but not hard, swapping the position of the trays halfway through the bake

9. remove from oven to cooling racks, and allow to cool

10. when largely cool, remove from the muffin trays or silicone cups, and allow to fully cool




Sunday, April 19, 2020

Pain au Chocolat -- the gluten free, whole foods, plant based version

The intersection of bread and chocolate.

I live with two people for whom both bread and chocolate hold special and exalted places in their palates and in their diets. That is to say, neither of them ever gets tired of these goodies. I thought, why not combine the two? Especially right now, everyone is showing off their COVID bread, and here we are, all sad and gluten-free. I figured it was time to kick it up a notch. Enter, the pain au chocolat, or what we could call the best of both worlds.

I decided to take a fairly typical but soft gluten free bread dough, sweeten it a little extra with coconut sugar, roll it out flat, sprinkle it with goodies, cut it into long triangles, and roll them individually.

I wanted these buns to be more like bread than pastry, but next time I may enrich them with coconut milk, coconut butter, or some avocado oil just to see what happens. People who enjoy butter on their bread may enjoy more richness in their bread. Still, they were very well received, and make a satisfying Sunday morning nosh with a cup of tea.


roll your dough out into a nice big rectangle! I roll it out on a jumbo silicone mat, but I also use plenty of flour underneath and on top to keep it from sticking to the mat, and to keep the dough from sticking to the rolling pin


brush the rolled out dough with coconut nectar -- about 1/4 cup. No coconut nectar? No problem. What  do you have in the way of liquid sweeteners? Rice syrup?


sprinkled the dough 'evenly' with your mixture of date sugar, kinako, and salt


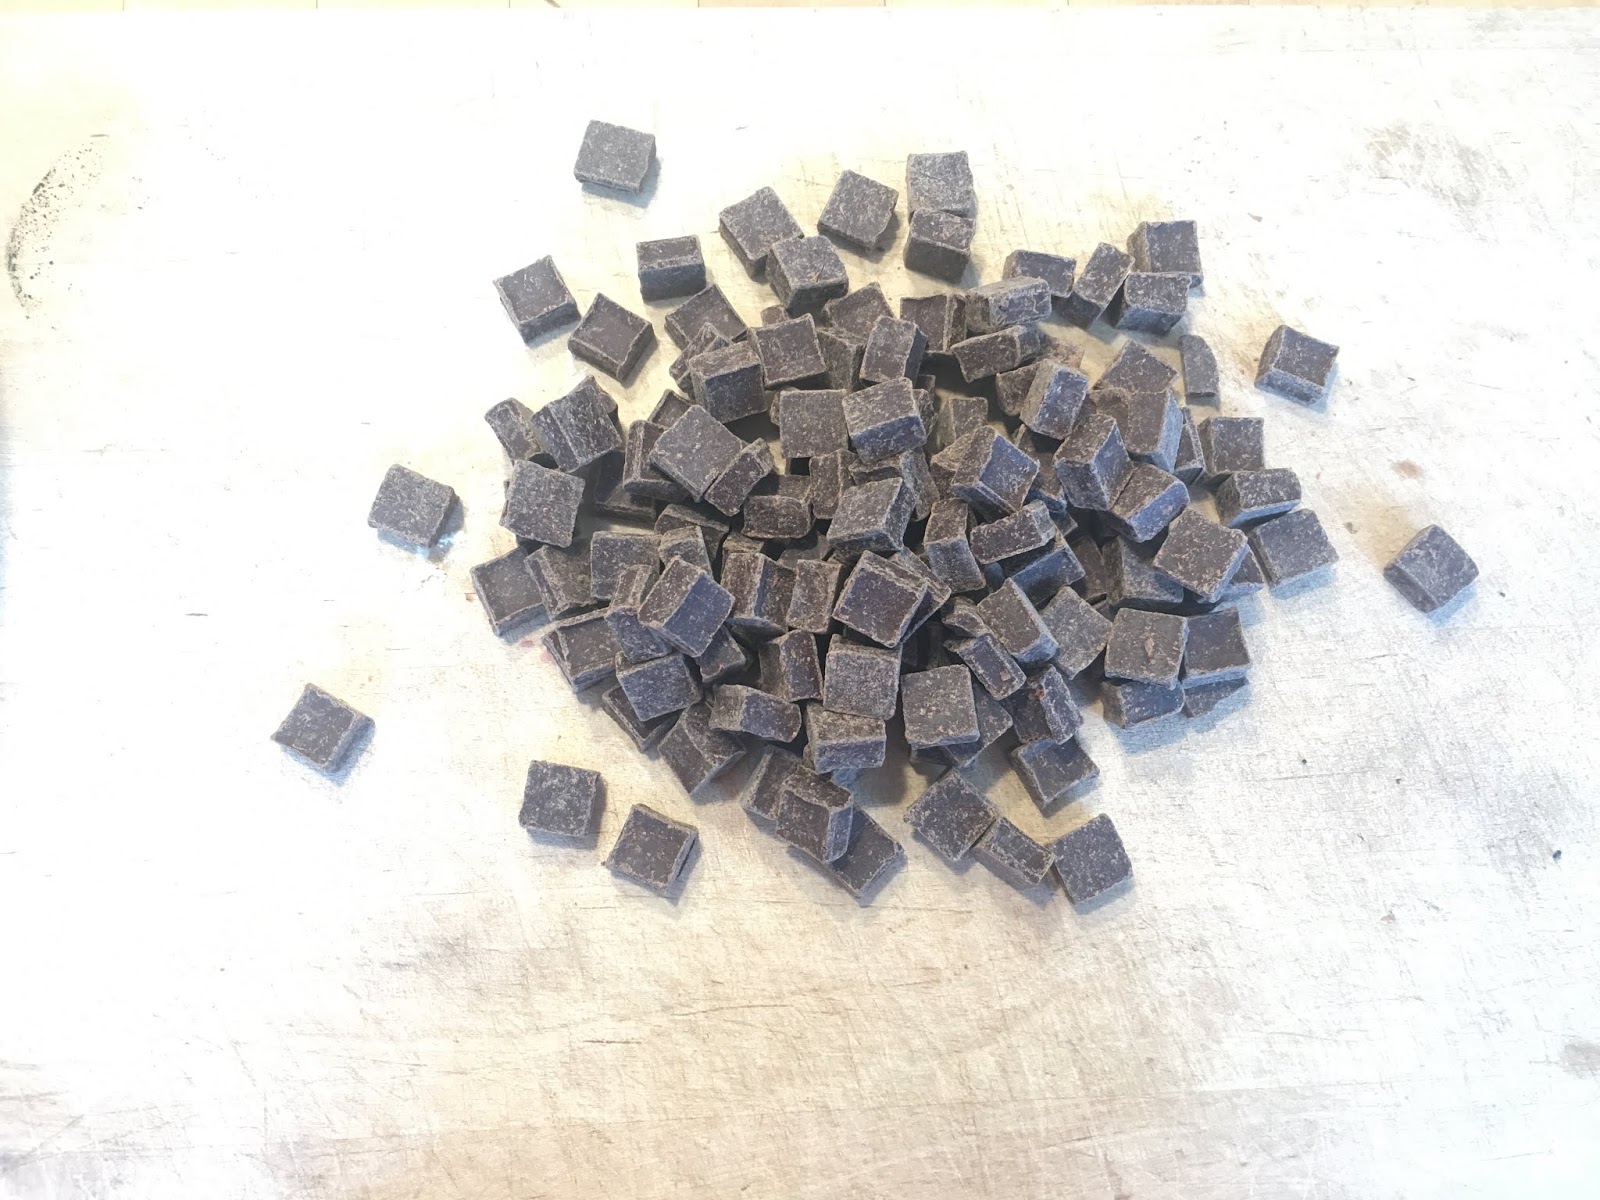
fair trade, organic chocolate. Only have chunks? no problem.


grab a big knife and chop your chunks up!


evenly distribute the chopped up chocolate over the whole surface


cut the dough using something that won't damage the surface you are working on!  Triangles please!!

roll the dough triangles starting at the wide end, and finishing at the narrow end, so the inside part is the widest part

put the rolls with the end face down on your silicone mat-lined tray. No silicone mat? No problem! You can use baking parchment. No parchment? Please use plenty of coconut oil and flour on that pan so your buns don't stick.

let 'em rise

rise for a couple hours, maybe


fresh out of the oven. Can you smell them? So good.


hello I'm a super cute chocolate roll. Won't you be tempted by me?


how about now???

mmmmm ....


full of chocolate goodness


equipment needed:

whisk
mixing spoon
measuring cups
measuring spoons
mixing bowls
kettle or other way to heat up water
oven
baking sheet
baking mat or parchment
dull edged tool for cutting dough into long triangles (like a pastry cutter or a plastic spatula)
large counter surface for rolling out dough
large silicone mat for rolling dough on (optional)
spoon for sprinkling ingredients
brush for brushing coconut nectar
timer
rolling pin


ingredients:

A)
1 1/2 cups warm water (or plant based milk for extra richness)
1/4 cup coconut sugar
1 tbsp yeast
1 tsp vanilla
(1/4 cup coconut butter -- optional)

B)
1 tsp himalayan salt
2 tsp xanthan gum
1/2 tsp tonka bean powder (optional)

(1/2 tsp baking soda, 1/2 tsp cream of tartar)

C)
1/2 cup coconut sugar
1 cup almond flour
1/2 cup chickpea flour
1/4 cup soy milk powder
1/2 cup cassava flour (or tapioca starch if you don't have cassava flour)
1/2 cup sorghum flour
1/2 cup oat flour

D)
1/4 cup coconut nectar (or other liquid sweetener of your choice)

E)
1/4 cup date sugar
1-3 tbsp kinako (roasted soybean powder) (optional)
1/16th - 1/8th tsp salt

F)
1 cup chocolate (I use fair-trade, organic dark chocolate chunks, and chop them into bits with a big knife). You can also use chocolate chips if you like!)


directions:

1) combine A, and set aside to proof
2) in a large bowl, combine B and C. I like to use a whisk (gently) to make sure these dry ingredients are all perfectly combine
3) once the yeast mixture has foamed, pour it into the bowl of dry ingredients, and mix well
4) once out your dough has successfully formed, turn it out onto a well floured surface (I use a large silicone mat on my kitchen counter, but that's not necessary)
5) roll out the dough (with enough flour to keep the rolling pin from sticking!) Try to make a nice big rectangular shape.
6) brush the dough with your coconut nectar
7) combine the ingredients from E and sprinkle all of it on the dough
8) chop your chocolate if necessary, and distribute evenly on the dough
9) cut the dough into long triangles. I got 9 (That was entirely random. If you cut rectangle in half half length wise, you  can make smaller roll ups -- approximately 20)
10) starting at the wide end of each triangle, roll the pieces of dough up (try to roll tightly, but handle them with care), and put them with the end face down on a lined baking sheet (I like silicone mats for lining my trays, but some people prefer parchment)
11) let them rise!
12) be patient
13) bake at 345 for around 40 minutes, depending on how big they are. (for little ones, bake for 30)
14) cool for at least 10 minutes before serving


ready to bake
baked for about 40 minutes


a cute pain au chocolat

imperfection is perfection


Thursday, April 16, 2020

Double Chocolate soft cookies -- whole foods, plant based, gluten free deliciousness

For when oatmeal chocolate chip is not going to ring that bell, these double chocolate pieces of fabulousness may be just what you need.

These big, soft, puffy cookies are halfway between cake and cookie -- and they are chocolatey enough for even the most thorough-going of chocolate lovers. The best part is how good they are for you. All the decadence and satisfaction you could want, all while fuelling you well.

Cacao is a dark flavour, and my rule of thumb tends to be you need an addition of sweetener on a 1:1 ratio with however much cacao you put into something. Hence, since there is 3/4 cup cacao in these, there's an additional 3/4 cup date sugar on top of the coconut sugar in them. However, you are welcome to reduce that to whatever suits your own palate.

Finally, when it comes to grain flours, they are not all equal. However, these 'cakies' are super forgiving, and you can certainly sub in your favourite gluten free flours instead of millet. I love sorghum (super high in protein! tastes nice! delicate texture!) and oat flour, some people like brown rice flour or whatever. You do you. You may have to play around a little with quantities to make it work out perfectly, but what's a 1/4 cup rolled oats more or less between friends?


equipment needed:

measuring cups
measuring spoons
mixing bowls
whisk
4 tablespoon scoop (optional) or soup spoon
fork and cup of water
baking sheets and silicone mats (or parchment)
oven
timer


ingredients:

a)
2 cups water
1/4 cup avocado oil (or 1/4 cup melted coconut oil)
1 tbsp molasses
1 tsp vanilla extract
1 tbsp apple cider vinegar

b)
1 cup coconut sugar
3/4 cup date sugar

c)
1 cup almond flour (or sunflower seed flower for a nut-free version)
1/2 cup tapioca powder
1/4 cup millet flour
3/4 cup cacao powder

d)
1/2 cup chickpea flour
1/4 cup soy milk powder

e)
1/2 tsp salt (earth salt, why not)
1 tsp xanthan gum
1/2 tsp tonka bean powder (optional!)
1 tsp baking soda
1 tsp cream of tartar

f)
1 cup oat flakes

g)
1 or 2 cups of chocolate chunks


directions:

preheat oven to 345

1. In a medium sized bowl, combine the ingredients from a) and b), and whisk well
2. In a large bowl, combine the ingredients from c), d), e) and f), and whisk or stir until fully mixed
3. add the wet ingredients to the dry ingredients, and stir very very well, until completely incorporated
4. add in g)
5. using a 4 tbsp scoop, deposit equal lumps of the cookie dough onto the lined cookie sheets, aiming for about 12 per cookie sheet, until all the cookie dough is used up (I squeeze them all onto 2 baking sheets -- they won't spread at all)
6. using a fork dipped in water, (slightly) flatten and shape the cookie dough
7. bake at 345 for 25-30 minutes
8. allow to cool on the baking sheets, and then remove with a metal spatula

Wednesday, April 15, 2020

LOVELY chocolate cake -- a gluten free, plant based confection

Despite the non-traditional ingredients, this cake is delicate and soft, with a lovely sponge texture that  upholds everything you want in a chocolate cake. We've been known to eat it plain as little baby-cakes. We've made layers, and turned it into a gorgeous frosted birthday delight. And we've thrown in chocolate chunks for double chocolate decadence.

Even picky kids have been won over by this lovely cake, and it's definitely a recipe I have a lot of confidence in.

I use a few different types of flours, but it's not entirely necessary. If you prefer to choose only sorghum, that's fine. I would caution against using exclusively oat flour, however, as it could be a little gluey if you do. The flours I select all contribute something special to the texture, so if you can access them, I would advise using all of them.


equipment needed:
2 mixing bowls
measuring cups
measuring spoons
mixing spoons
whisk
muffin trays and papers or silicone muffin cups and baking sheets
kettle 
oven


ingredients:

A)
2 cup warm water
1/2 cup coconut oil (melted) or avocado oil 

B)
1/4 cup coconut nectar (or honey or maple syrup)
1 tsp vanilla
1 tbsp apple cider vinegar

C)
1 1/2 cup coconut sugar 

D)
1/2 tsp mountain salt
1 tsp xanthan gum 
1 tsp baking soda
tsp cream of tartar
4 tbsp tapioca flour
4 tbsp chickpea flour 
2 tbsp soy milk powder

E) 
10 tbsp millet flour
10 tbsp sorghum flour
1/2 cup cacao
1/2 cup oat flour


F)
 1 heaping cup chocolate chip for double chocolate (OPTIONAL)


directions:

1. preheat the oven to 345
2. in the 1st mixing bowl, combine the ingredients from A, B, and C, ensuring that the coconut oil is melted and the sugar is dissolved
3. in 2nd mixing bowl, combine the ingredients from D and E Make sure this is completely mixed
4. combine the contents of both mixing bowls (adding dry to wet is best) and whisk well
5. stir in any ‘mix-ins’ if applicable. (F)
6.
a) for muffins or cupcakes: scoop into paper lined muffin trays or silicon muffin cups on baking sheets (for the later, don’t crowd  — spread them out on the tray) (I love using a 4tbsp scoop for this) (makes about 10 little cakes or muffins depending on how many mix ins)
b) for little round pans for layer cake: line each round with parchment and also brush with coconut oil — trust me (this will make about 2 little round layers — or double it to make 3 8 inch layers)
7. bake for 40 to 55 minutes at 345 depending on size of cake -- cupcakes and muffins will take less time than a bigger cake!!  Bake until the cake feels springy and firm, but still delicate to the touch. Trust your finger tips!! You can also poke it with a toothpick to see if it's done.
8. remove from the oven and cool


Saturday, January 18, 2020

Breakfast Cookies -- a customizable, grabble, gluten-free, plant-based quick-meal

I don't personally think breakfast is the most important meal of the day. However, I've never been a breakfast person, so there you have my implicit bias. My kid used to love breakfast, and often also second breakfast. He was all about that first meal of the day. Even just the thought of breakfast used to make him happy. These days, I think he's gearing up to be a teenager because he's become much less interested in eating in the morning, and often will just have a small scoop of peanut butter and call it done. Eating is one of those things that's both highly personal, but also shared by everyone, so it's hard not to be affected by other people's opinions about what one should do. As my old voice teacher said "You do you. I'll be over there in the corner sweeping." I've always liked to let my kid direct his own eating as much as possible, schedules not withstanding, because I had always taught him to listen to his body, and take care of it based on what it told him he needed. For some people, breakfast happens when you wake up. For others, the first meal of the day is noon or later.  But I do think, regardless of what time of day you eat any meal, sometimes it needs to be really really fast, or really really easy to take with you.

I wanted to make a breakfast food that was portable, compact, nut-free, and nutrient dense. Oh -- and, of course, delicious. That, along with nutritious, is the other non-negotiable. I am forecasting broad appeal for these breakfast cookies. A combination of gluten-free oat bran and sunflower seed flour provides a wholesome base, and then plenty of tasty mix-ins to jazz it up. The mix-ins are customizable, so you can use whatever suits your fancy.

I say breakfast, but these are a great trail snack for hiking, post workout-refuel, or anytime you need to stoke your engines with nutrient dense, wholesome goodness.

They are sweetened with a little coconut nectar, which is from the flowers of the coconut palm. Coconut nectar is very low on the glycemic index, high in minerals, and has a pleasant fruity sweetness that is neither cloying nor overpowering. There is also just a bit of date sugar in them -- literally ground up dates -- which is also full of minerals, and also fibre. The balance of fats and proteins in these cookies mean that even with a little bit of sweetness, they won't spike your blood sugar, and will definitely satisfy your need for fuel, as well as your hunger for something very tasty.


equipment needed:

measuring spoons
measuring cups
mixing bowls 
mixing spoons
whisk
kettle (for heating water)
2 cookie baking sheets
2 silicone baking mats or baking parchment
oven
pan for toasting coconut and pumpkin seeds on the stove top
4 tbsp cookie dough scoop
rubber/silicone scraper
oven mitts
fork
cup of water
2 cooling racks
metal spatula

ingredients needed:

A)
1/2 cup hot water
1/2 cup coconut butter (or any nut butter if you don't need these to be nut free!! I've used almond butter for these and they were very successful)
1/2 cup coconut nectar 
1 tbsp apple cider vinegar
2 tbsp molasses
1 tsp vanilla extract

B)
1/4 cup date sugar
1 1/2 cups oat bran
1 1/2 cups raw sunflower seeds ground into flour (I ground my raw sunflower seeds in a coffee grinder until they were a fine powder) (You can substitute almond flour if you don't need these to be nut free!)
1/2 tsp cinnamon
1/2 tsp himalayan salt
1 tsp baking soda
1 tsp cream of tartar
1/2 tsp ground tonka bean (optional)

C)
mix-ins 
2/3 cup desiccated coconut, toasted in a pan on the stove top until nicely light brown
2/3 cup raw pumpkin seeds, toasted in a pan on the stove top
1/3 cup dried cranberries (I use the apple-juice sweetened ones)
1/3 cup seedless raisins
2/3 cup hemp hearts
1 cup fair-trade dark chocolate chips/chunks

... or whatever you like!


directions:

1. preheat the oven to 345
2. line your 2 baking sheets with parchment or silicone. I love silicone mats, and use them almost exclusively. They last forever.
3. In a mixing bowl, combine all the ingredients from A, and set aside
4. In another mixing bowl, combine all the ingredients from B, and mix very well
5. using a whisk, stir the contents first mixing bowl until completely mixed
6. add the ingredients from the second bowl into the first bowl, and mix very well with a spoon
7. once the 2 bowls have been successfully combined, add the mix-ins and stir well
8. scoop the cookie dough using the 4 tbsp scoop, placing 12 scoops per baking sheet, at regular intervals (usually 3x4). You should have 2 sheets of 12 each.
9. using a fork dipped in a cup of water, flatten the cookies into a pleasing thickness and nice round shape
10. bake at 345 for 24 minutes. Swap the top and bottom tray positions with each other half way through, at the 12 minute mark.
11. remove the cookie sheets from the oven, and allow the cookies to cool on the pan for a while
12. When they are cool, you can remove the cookies from the baking sheets using a metal spatula

store in an airtight container
share with friends
enjoy


Sunday, July 28, 2019

Peanut Butter and Chocolate Granola Bars


Granola bars are one of those things I hate buying. The reasons are three: 1) the ingredients that are put into commercial granola bars 2) the cost of commercial granola bars 3) how easy it is to make them at home. I'd rather buy things that I can't easily make myself. The truth is, granola bars are dead easy to make, and when you do make them, you can choose the ingredients you wish to include. 

This recipe that I came up with  calls for peanut butter and chocolate -- which is not school friendly. I have made them with coconut butter instead of peanut butter, and they were well received. But here's that classic pb and c flavour combo, and since chocolate is way too melty in the summer heat, I definitely think of these as an enjoy at home snack, anyway. Definitely not for school.

I've made these without the chocolate mix in, and with coconut butter and hemp hearts instead of peanut butter, with chocolate drizzled on top. yummy. What I'm trying to say, don't be afraid to customize, if that's your jam. 

I toast the oats and coconut before mixing the ingredients together. This is because I prefer both the taste and texture of toasted oats and coconut in the this particular context. However, if you prefer raw, you do you.


The recipe calls for an entire cup of high quality dark chocolate, and makes 24 bars. Chocolate is laden with minerals, protein, fibre, and fat, as well as epic deliciousness. Thanks to the peanut butter, coconut oil, and shredded coconut, these bars are a good source of snack-worthy fat and protein, and are definitely a very satisfying nibble when you need one.


equipment needed:

frying pan
stove
spoon
mixing bowls
mixing spoon
measuring cups
measuring spoons
9x9 inch silicone pan (or a glass one lined with parchment)
metal or plastic spatula with fine edge for cutting the bars


ingredients:

A)
1 cup small flake oats 
1 cup fine coconut flakes or desiccated coconut

B)
5 tbsp natural peanut butter (we used crunchy)
5 tbsp coconut nectar
1 tbsp coconut oil

C)
1 tsp vanilla
1/4 tsp mountain salt (if your PB is unsalted, you may want to add an extra pinch)

D)
2 tbsp date sugar

E)
1 cup chocolate chips (dark, fair trade) (or if you have something bigger like chunks or morsels, you can also chop ‘em up roughly with a knife)


directions:

1. toast the ingredients from part A. For this, I use a dry frying pan on a moderate heat, stirring frequently and paying close attention because I don't want it to get too brown. You could also toast in the oven or toaster oven, but watch it carefully to make sure it's not getting over done. I highly recommend toasting them separately, because oats take much much longer than coconut to toast.

2. I use a glass measuring cup for this next part: combine the ingredients from B) and heat them until they can be mixed easily with a fork. I use the microwave for this. (Don't over heat). If you want to use a double boiler or a pot on the stove, that would work too. Don't let it burn and don't over-heat. You don't want your PB to seize. If you don't know what I mean by that, trust me, you don't want it to happen.

3. when B) is mixed well, add C) and stir well.

4. In a mixing bowl, combine the toasted ingredients from A) wth D). This is best when the ingredients are still warm. Stir well.

5. pour the mixture  of B and C over the toasted ingredients and stir well (I like doing this with a fork)

6. when fully combine, and whilst it is still slightly warm, stir in E). Because it is warm, the chocolate will partially melt. Do not worry. This is a good good thing.

7. When fully combine, press the mixture into your 9x9 silicone pan. (or a glass 9x9 pan lined with parchment. Trust me on the parchment). Flatten and smooth it into the pan using a silicone scraper or by covering it with a piece of parchment and pressing with your hands. 

8. When flattened and pressed, use the edge of a plastic spatula (or blunt metal edge) to cut the mixture into bars. I did 8x3, resulting in 24 bars. Put the pan into the fridge (or freezer if you are impatient) to chill.)

9. When fully chilled, remove from the pan, fully separate the bars, and store them in an airtight container in the fridge. 


Sunday, June 2, 2019

The Lunch Box Cookie -- a plant based, nutrient dense, DELICIOUS fuel source


Kids can be picky, right? Sometimes it can be challenging to provide them with food that they will enjoy while they are at school, that will also fuel them the way you want them to be fuelled. Sometimes mine won't eat because he feels stressed at school, and then he'll be that really adorable combination of stressed, hangry, surly, and explosive. #fml.

These little cookies pack a nutritional punch, and provide excellent energy, and are super dense with all kinds of goodness. Believe it or not, each one of these is about 3 g of protein, in addition to superb fats, and slow carbs. The protein content and slow burning fat are great mood and energy stabilizers. Plus, dark chocolate is actually a mood elevator. 


equipment needed:

kettle
measuring cups
measuring spoons
whisk
mixing spoons
mixing bowls
2 tbsp scoop (optional) 
small bowl or cup of water and fork (to flatten cookies prior to baking)
baking trays line with silicone mats or with parchment paper


ingredients:
A)
1 cup warm water
1/2 cup coconut butter
2 tbsp molasses
1 tbsp apple cider vinegar
1 tsp vanilla extract

B)
1 cup coconut sugar
1/2 cup date sugar

C)
1 tsp xanthan gum
1/2 tsp sea salt

D)
1/4 cup cacao 
1/4 cup white bean flour (or chickpea flour)
1/4 cup pea protein powder
1/4 cup soy milk powder 
1/4 cup tapioca starch


E)
1 cup shredded coconut
1 cup large oatmeal flakes
1 tsp baking soda
1 tsp cream of tartar

F)
1 1/2 cups chocolate chips


directions:

  1. preheat the oven to 345
  2. combine the ingredients in A) in a bowl, and let the coconut butter melt. Add in B), and whisk until everything is combined, melted, and homogenous.
  3. In a separate bowl, combine C) and D), and E) and mix really well.
  4. Combine the contents of the two bowls, adding the dry ingredients to the wet ingredients, not the other way around. Mix well with a spoon. 
  5. finally, when the mixture is combine to perfection, add your mix-ins from F) and stir well
  6. on your lined baking sheets, put 12 x 2 tbsps of cookie dough per baking sheet. Flatten the mounds with a fork dipped in water. These cookies will not spread as they bake. At all. 
  7. Bake for approximately 30 minutes at 345
  8. makes about 36 cookies
  9. store in an airtight container in the fridge


baker’s notes:

-if you don’t feel like chocolate cookies, skip the cacao and add 2-4 tbsp extra oatmeal flakes
-instead of oatmeal flakes, try quinoa flakes for an added protein punch
-instead of chocolate chips, you can try pumpkin seeds, raisins, or sunflower seeds. Dried cranberries? Why not!
-if they aren’t for school, why not try almond butter instead of coconut butter, for fun. 
-These are a nutritionally dense snack that are high in protein, and packed full of micro-nutrients to keep you going for the rest of the day. 

-fat, such as the fat in coconuts, almonds, peanuts, etc is amazing for you, and provides great, high quality fuel